With over 60 years of experience in the pump industry, Neptune® knows that improving system efficiencies and delivering peace of mind reliability means making maintenance quick and simple. That’s why Neptune makes replacing diaphragms in its
hydraulic diaphragm metering pumps easy for customers.
Follow this step-by-step guide – part of our ProTip Series – to correctly replace the diaphragm of your Neptune 500, 560, 600 and 6000 Series Hydraulic Diaphragm
Metering Pump.
Step 1
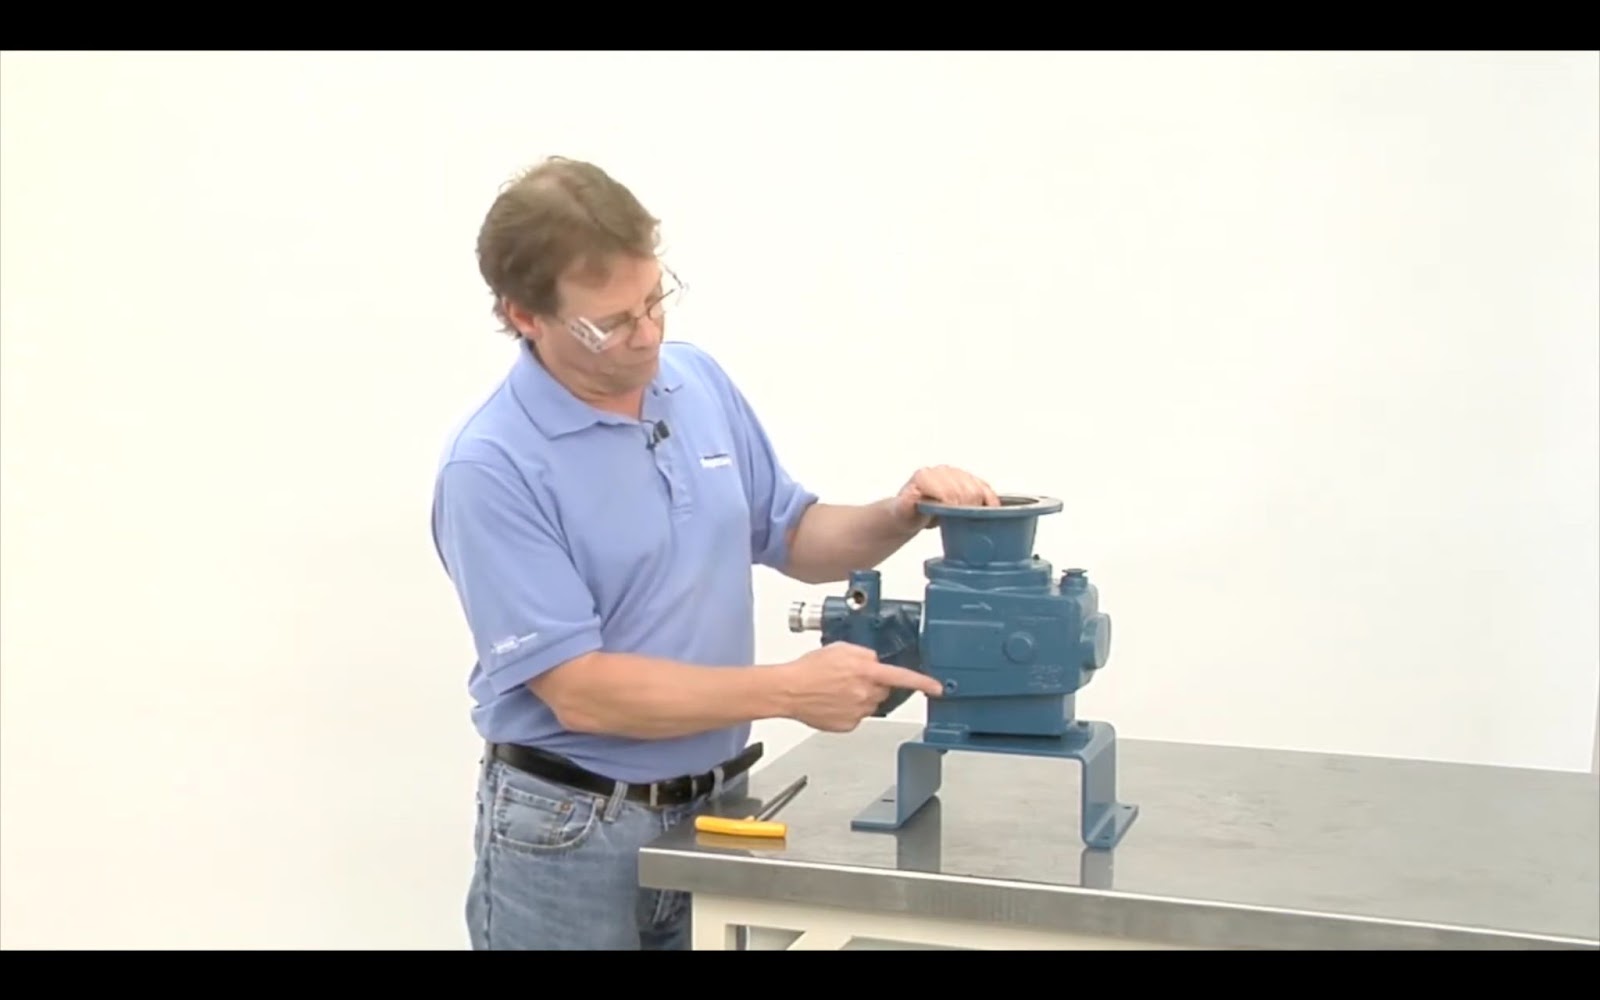
Drain the oil from the gearbox using the drain plug and neutralize or flush out any chemicals in the pump head.
Step 2
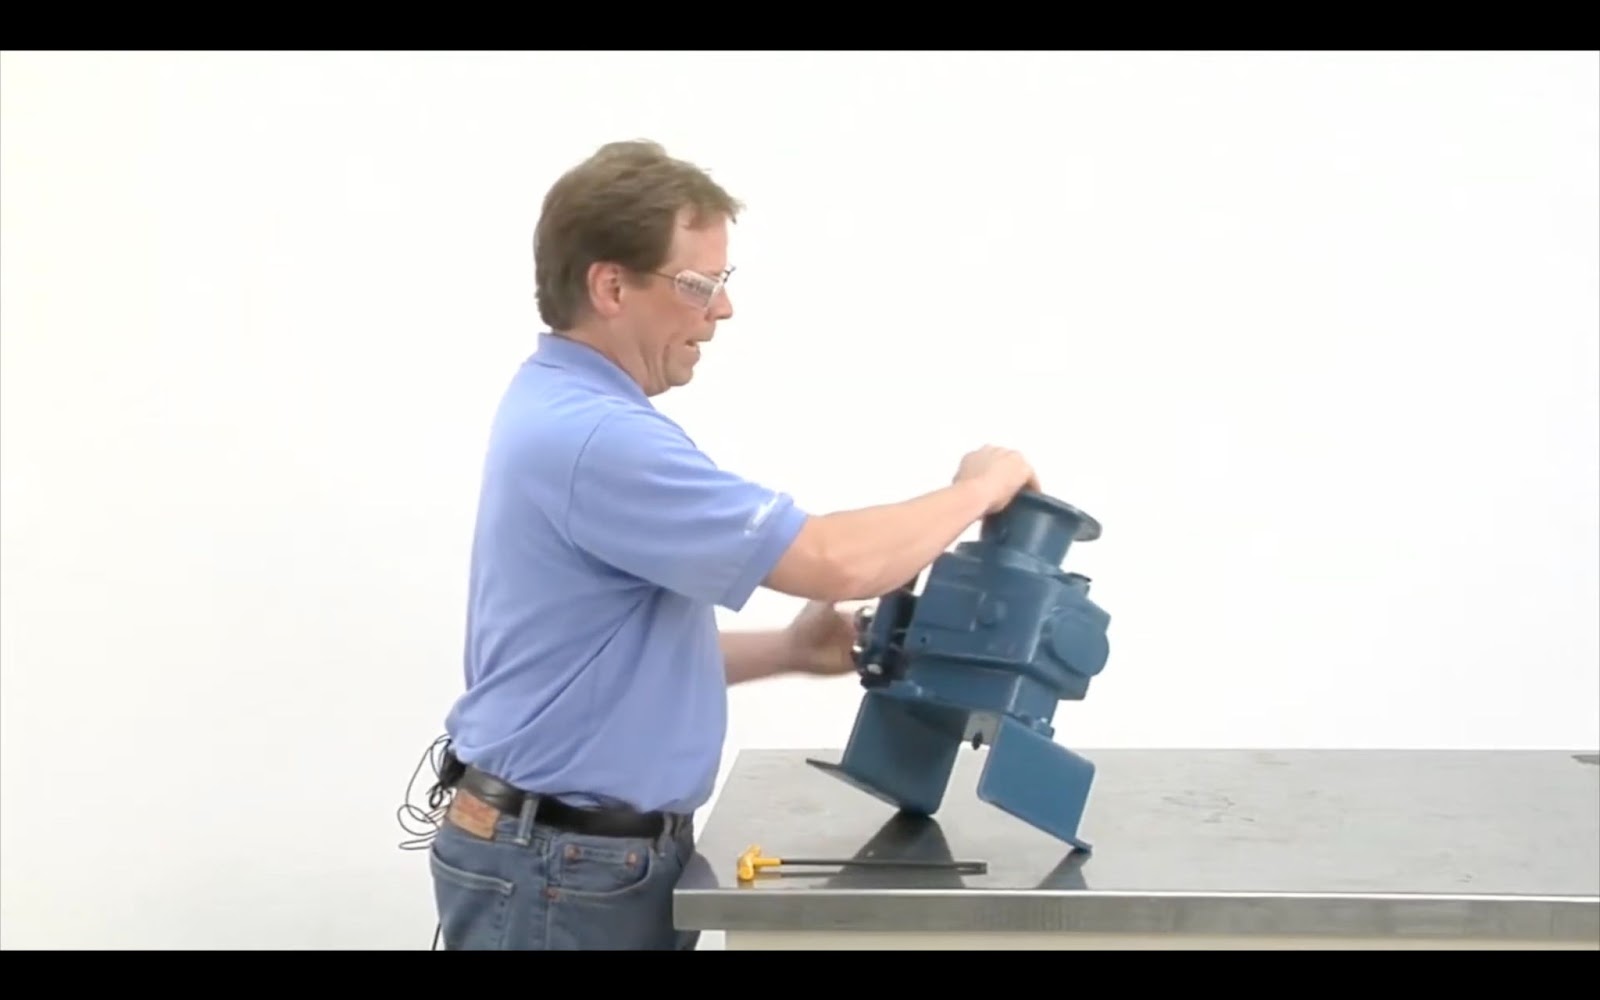
Lay the pump down on its side to help keep any loose parts inside it from falling out.
Step 3
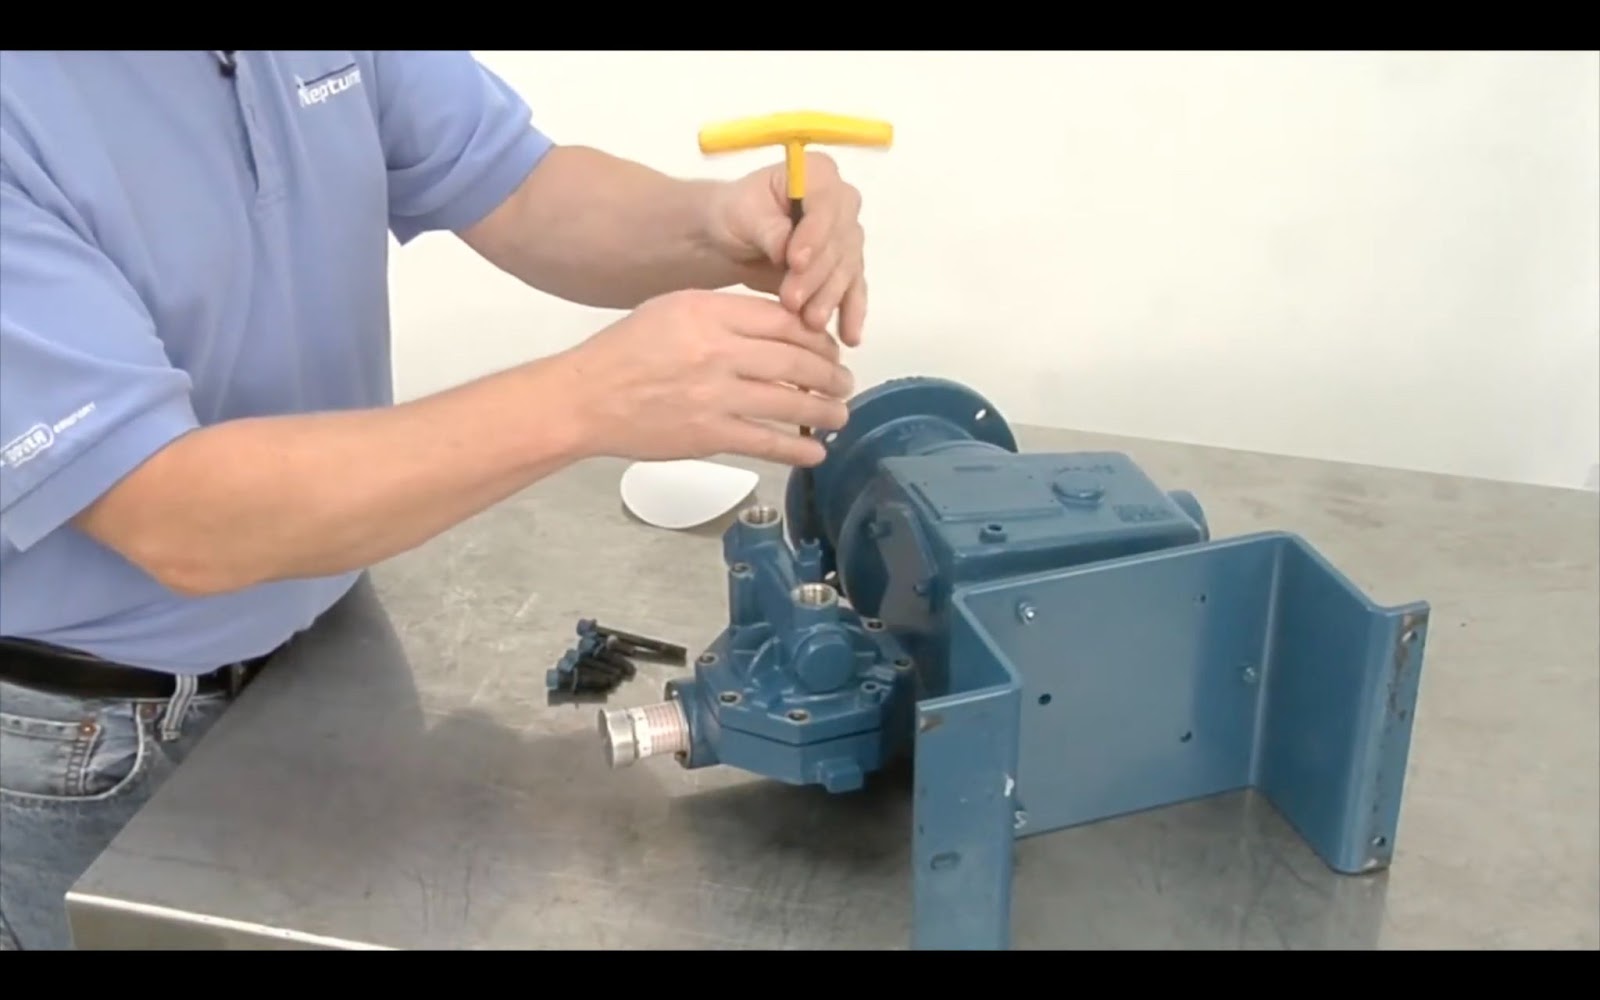
Unscrew and remove the bolts, and then remove the pump head.
Step 4
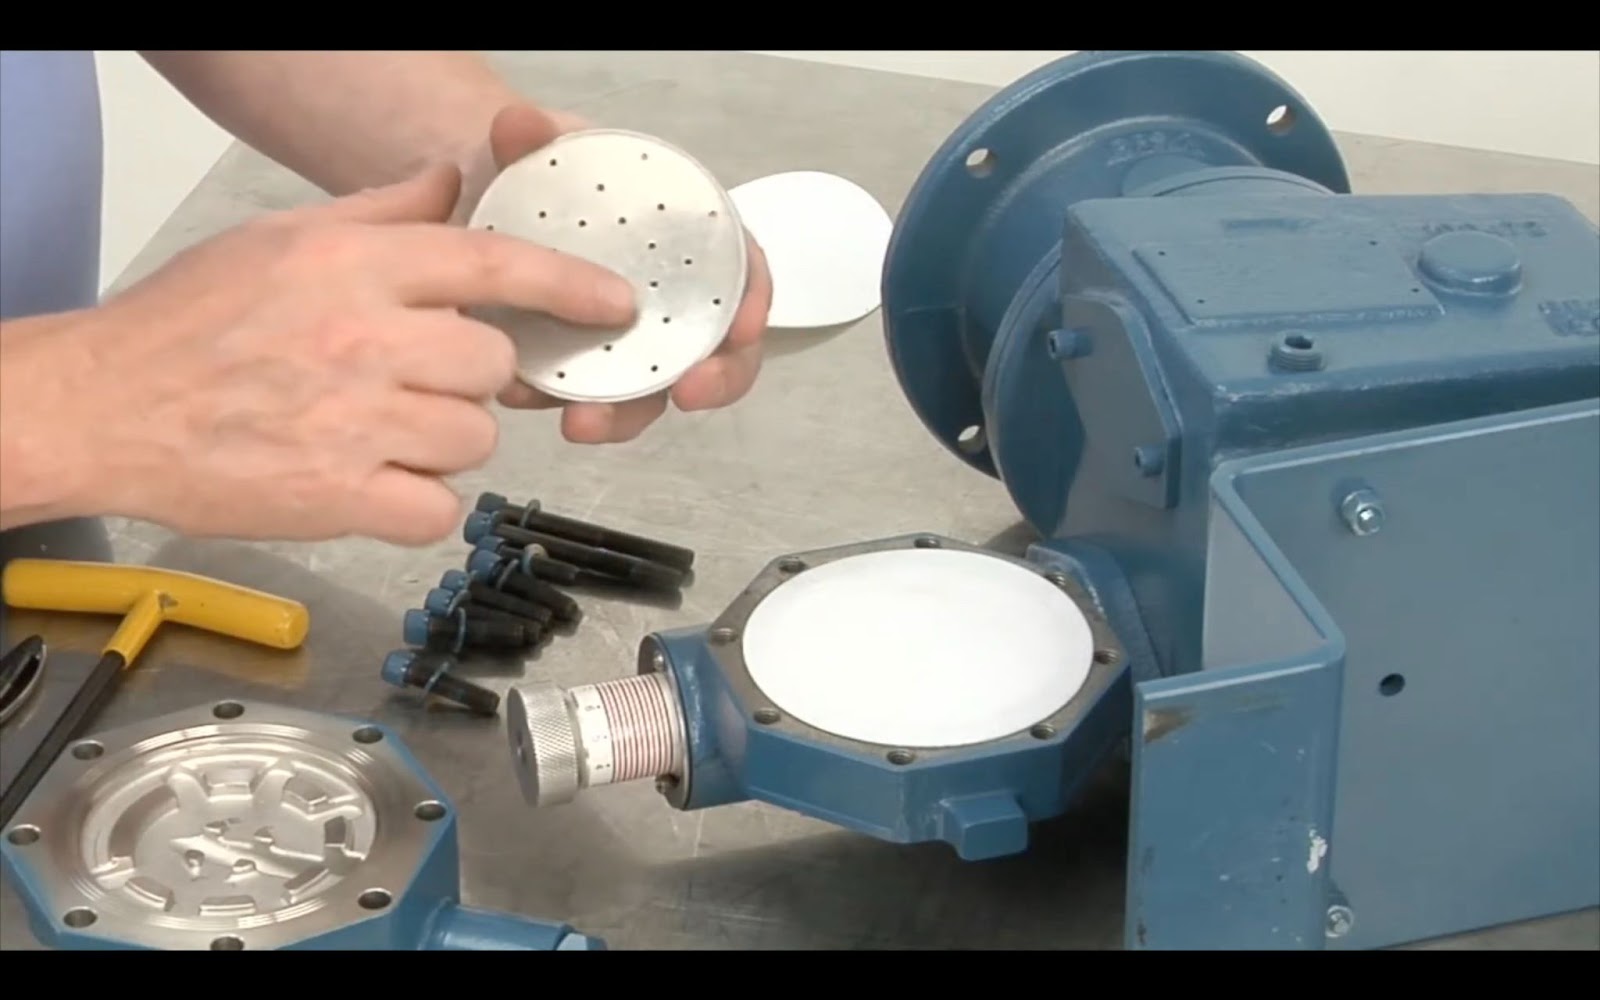
Remove the liquid backup plate and check for cracks. Replace, if necessary.
Step 5
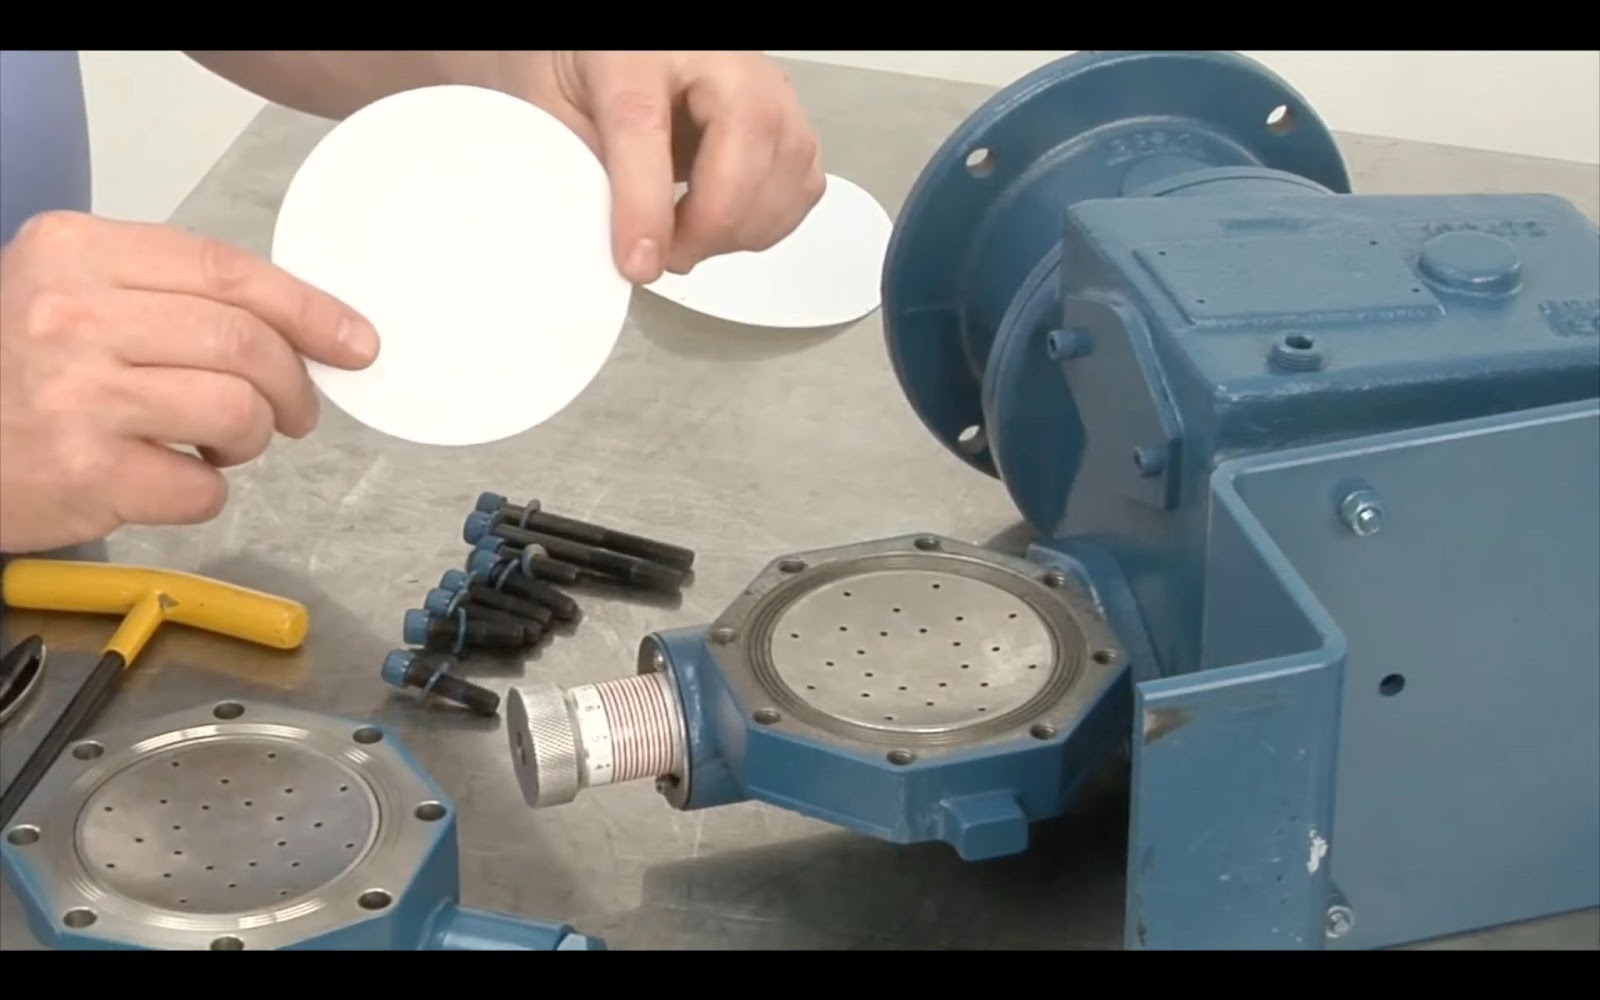
Remove the diaphragm.
Step 6
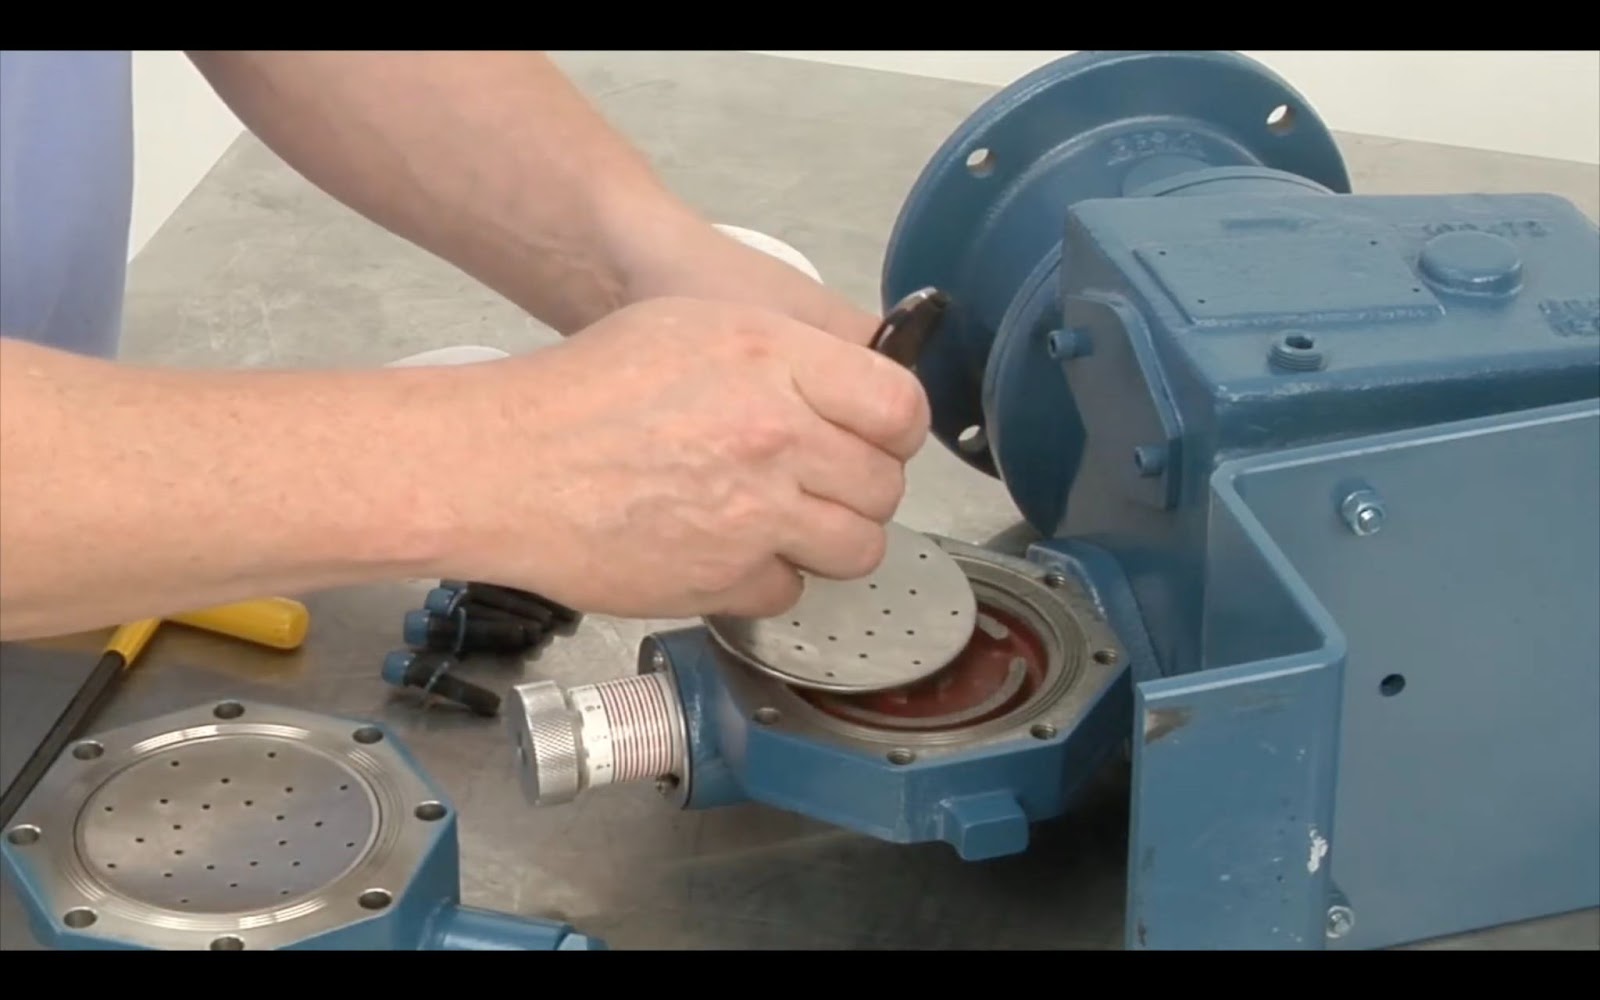
Remove the oil side backup plate and check for cracks. Replace, if necessary. Note: The liquid backup plate and oil backup plate look similar but should never be switched.
Step 7
Place the oil side backup plate into the pump.
Step 8
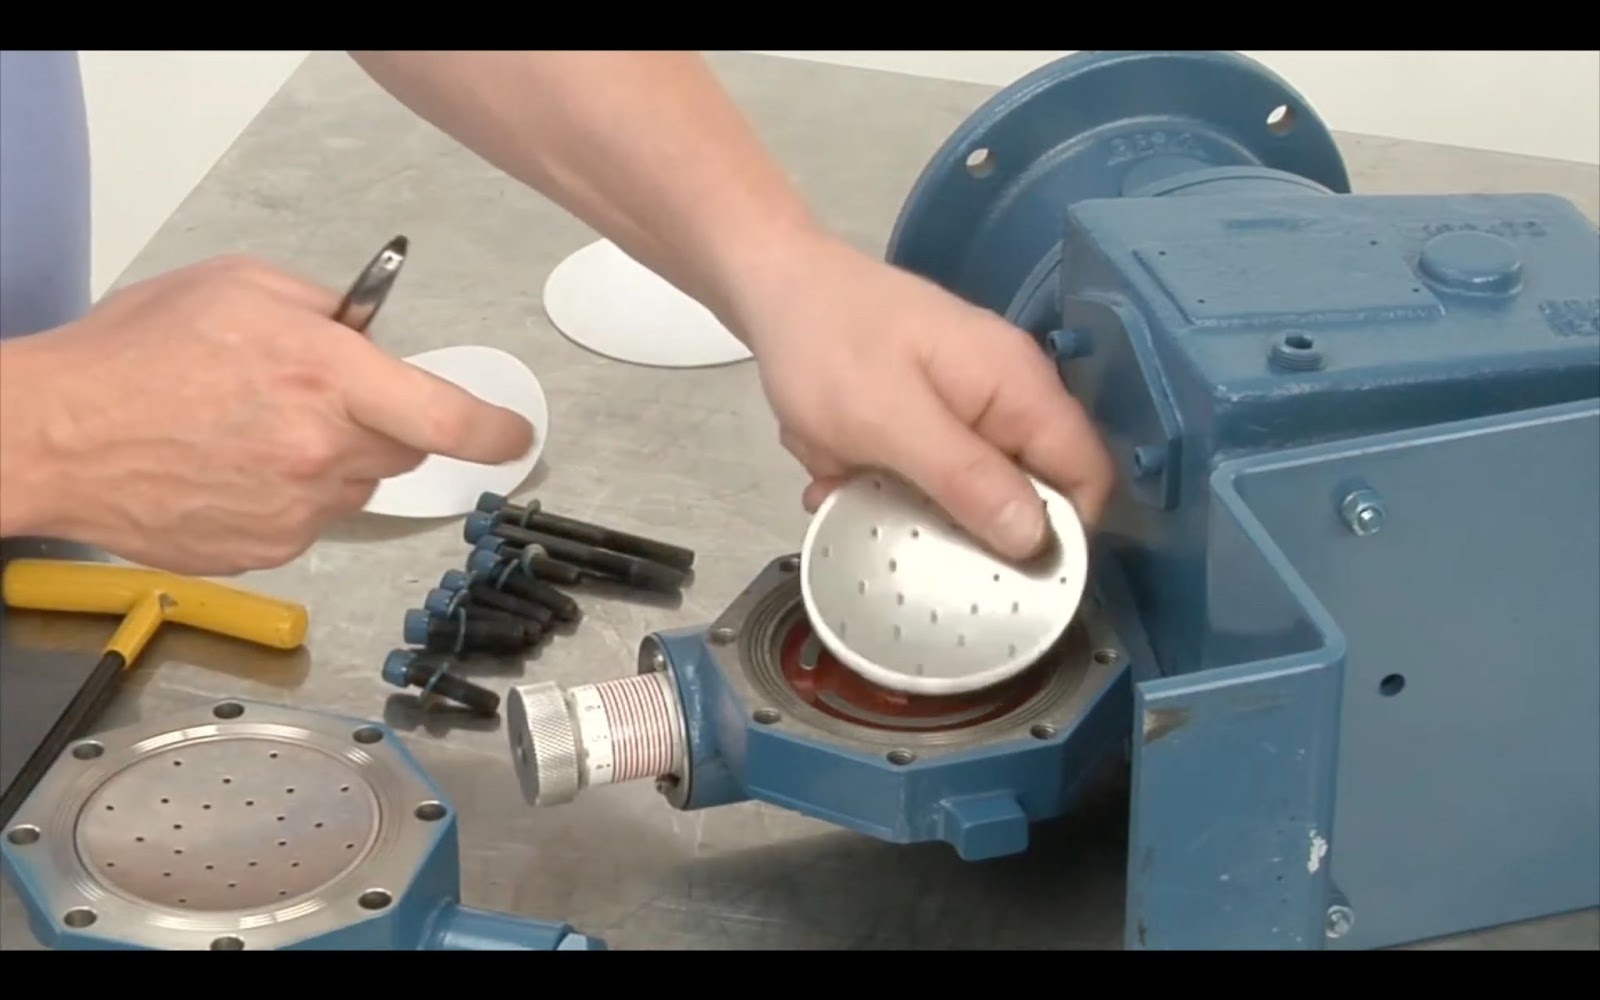
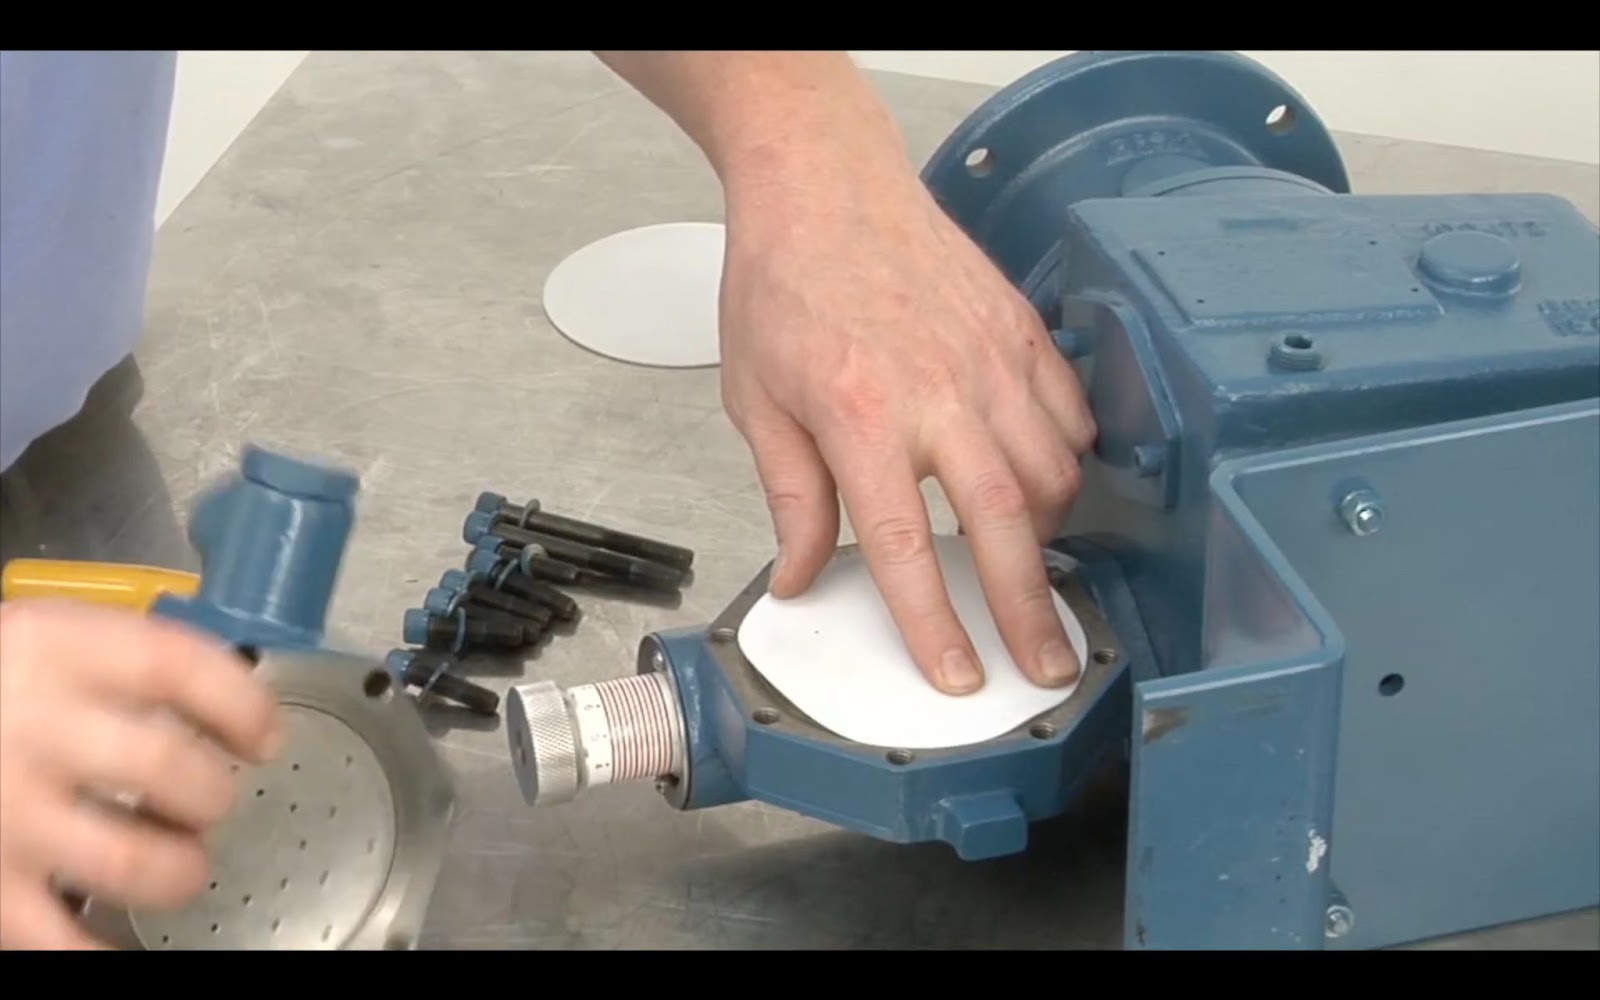
Insert the new diaphragm. Note: Do not reuse the diaphragms, as it will compromise sealing effectiveness and pump performance.
Step 9
Carefully place the pump head with the attached liquid backup plate back into place on top of the diaphragm.
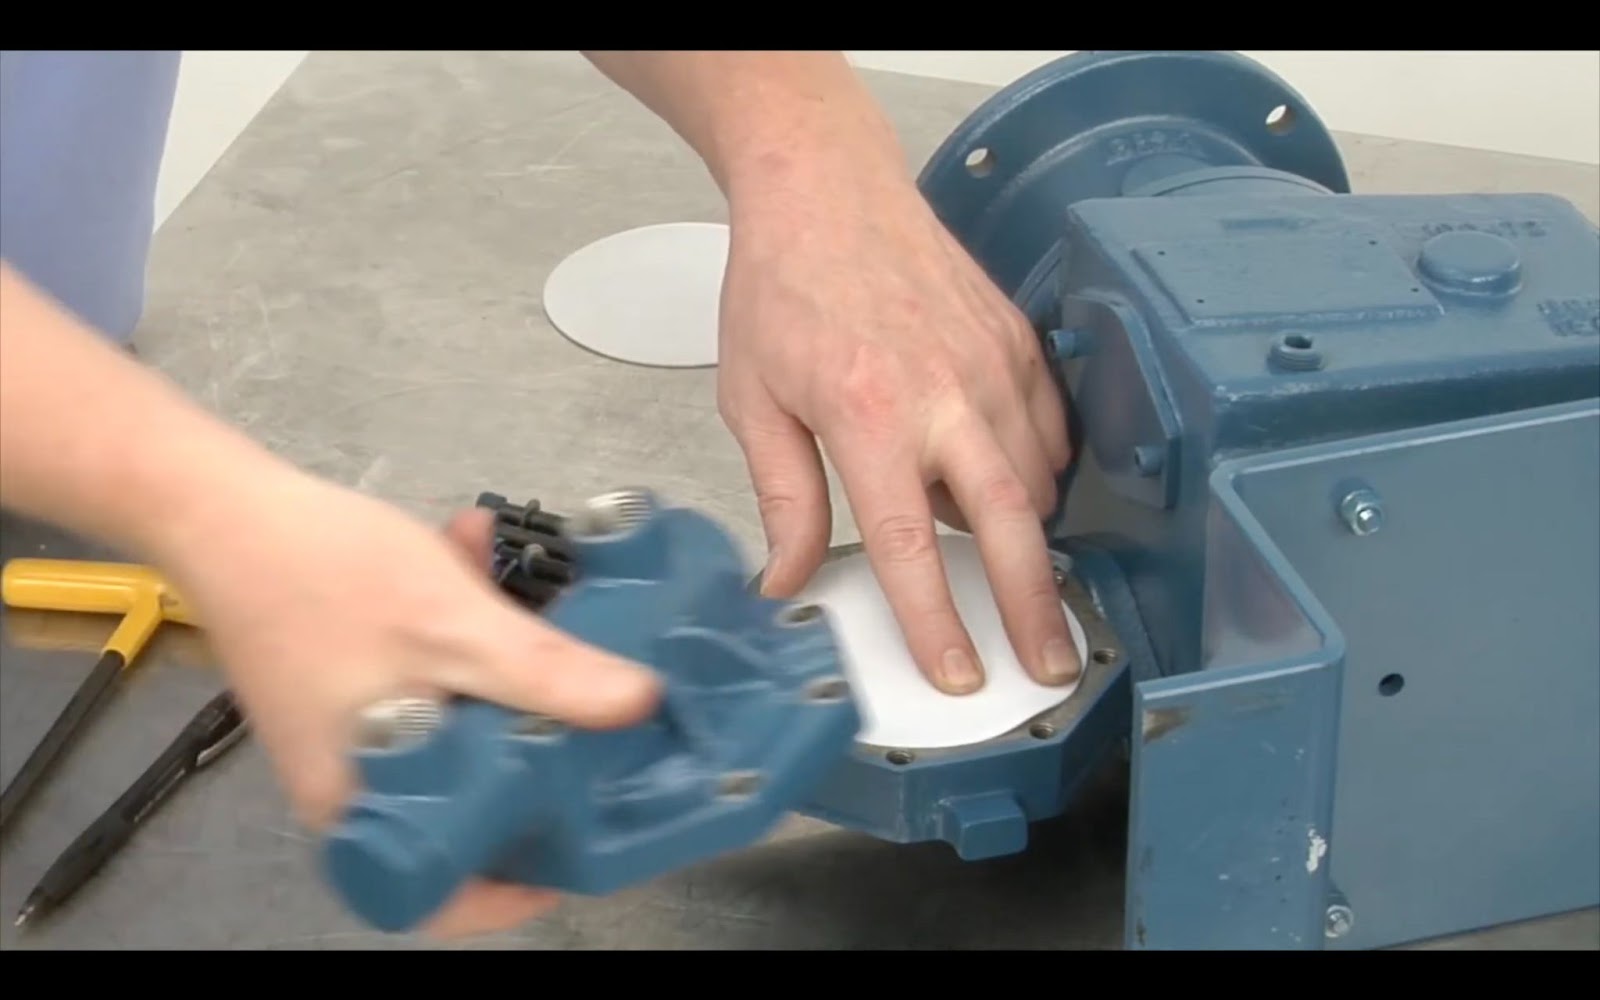
Step 10
With the pump still on its side, tighten the bolts in a star pattern.
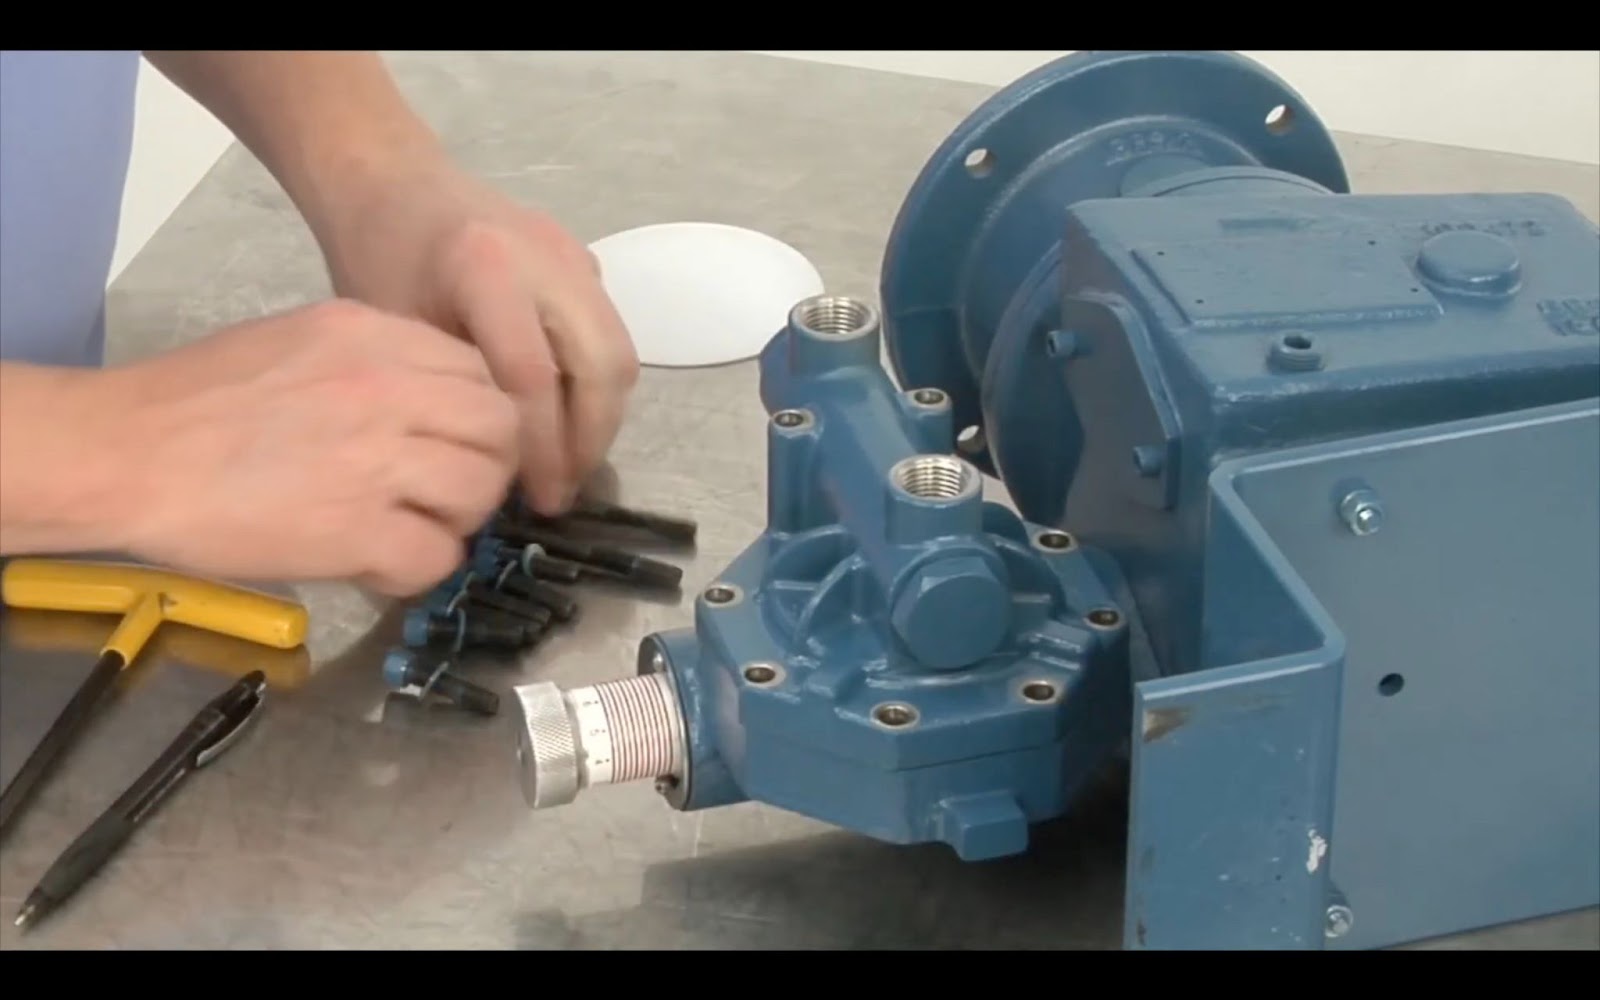
Final Step
Position the pump upright and then torque down the bolts. Note: The torque rating on the bolts could be higher on higher-pressure pumps. Refer to your pump’s manual for specifications.
Correctly replacing the diaphragm of your pump will help ensure it remains reliable, efficient and safe for your operation. Watch this maintenance tip video to see a Neptune product specialist
demonstrate this process in additional detail.
To learn more about the full range of Neptune hydraulic metering pumps, visit our products page.